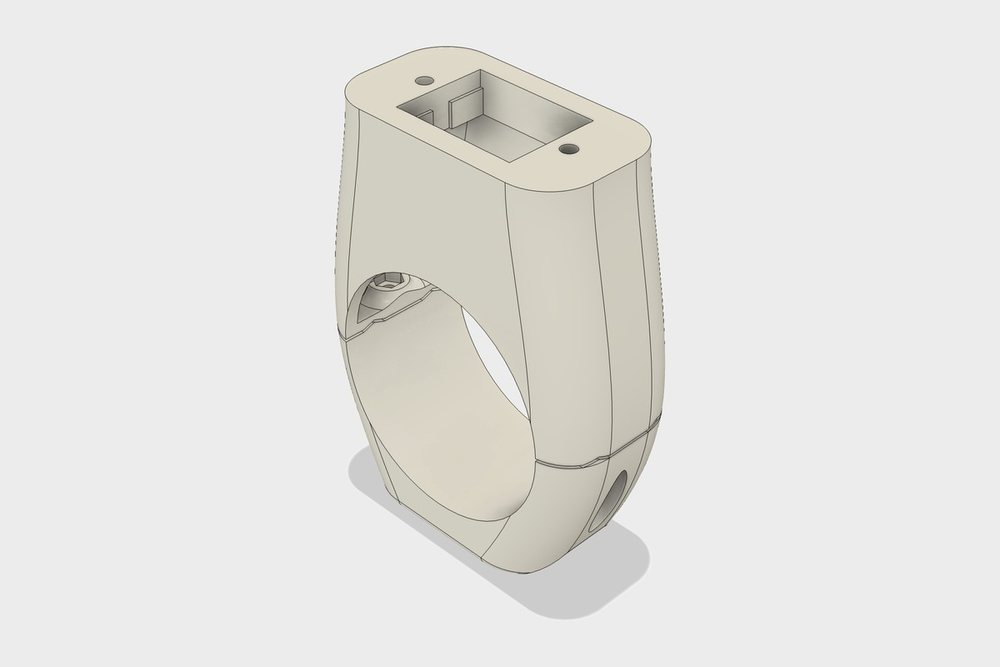
Agree the direction
We started from the shop’s initial sizing to agree the overall size, shape and fixing with them, so the design direction was settled before any detail work.

Case study · Custom build
A custom car shop wanted an original Land Rover indicator and switch on a 2-inch steering column. Their sizing set the design direction, and 3D scans of the originals made it fit first time.
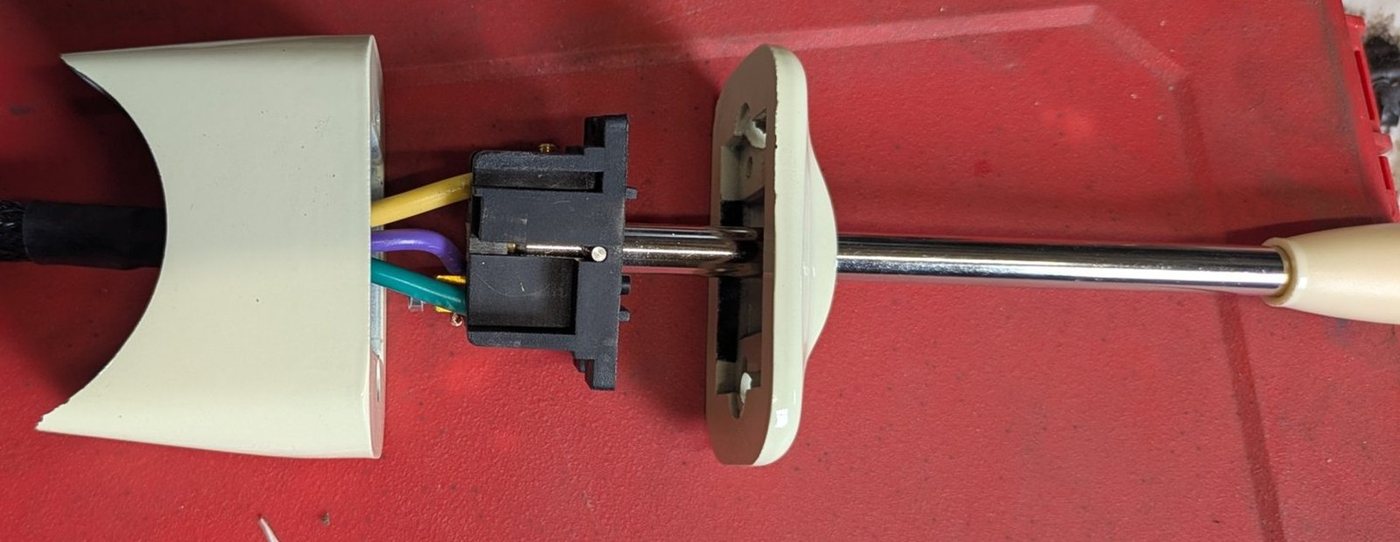
Custom builds rarely use parts the way their makers intended. This custom car shop was building a Gasser, a 1960s-style drag car, and wanted an original Land Rover indicator stalk and switch on its 2-inch (50.8 mm) steering column. The original mounting base is made for a smaller tube, so the shop needed a new mount that would take the indicator and switch unmodified and clamp firmly round the column.
The shop’s own sizing let us agree the design direction quickly. A mount like this then has to be right to a fraction of a millimetre on several details at once, some hidden inside the parts:
We started from the shop’s initial sizing to agree the overall size, shape and fixing with them, so the design direction was settled before any detail work.
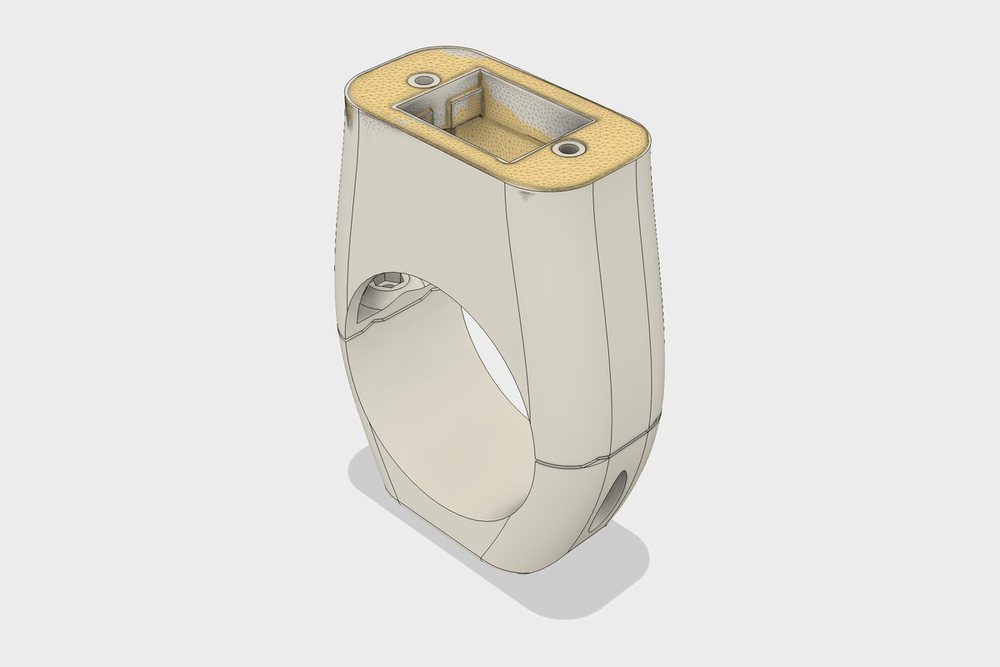
We 3D-scanned the original indicator top and mounting base and lined both scans up with the design. Scans capture what is hard to reach with a ruler, such as the depth and latch ridges of the switch throat. We matched the holder to them in professional CAD, down to 35 mm screw spacing and a switch throat within about 0.05 mm of the original.
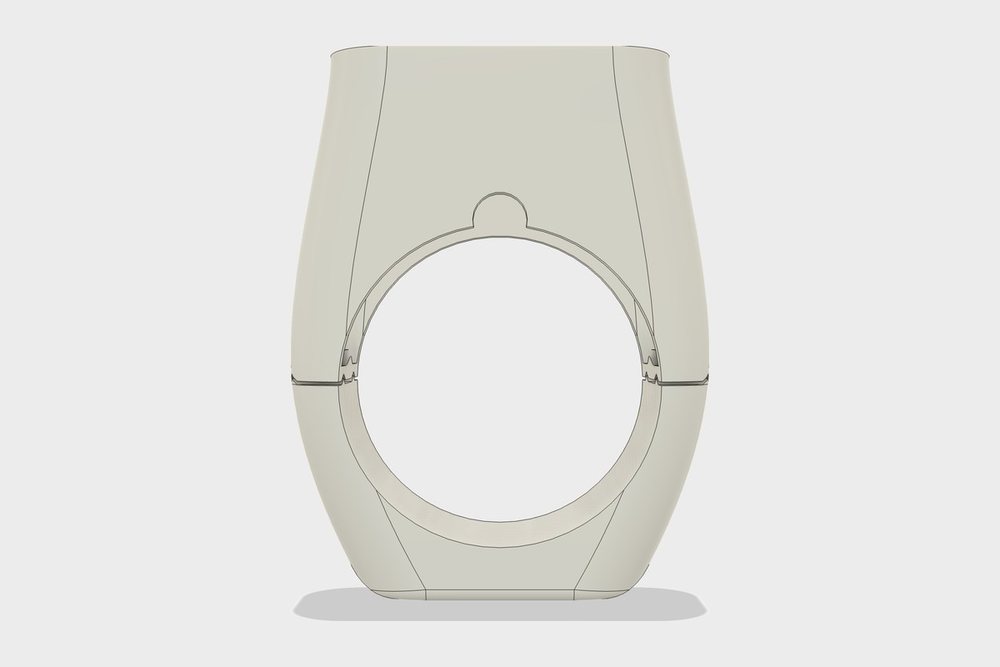
A clamp bored to exactly 50.8 mm would close before it gripped. We added a 0.6 mm gap at the split, copied the original’s cable notch, and thickened the strap under the bolt heads.
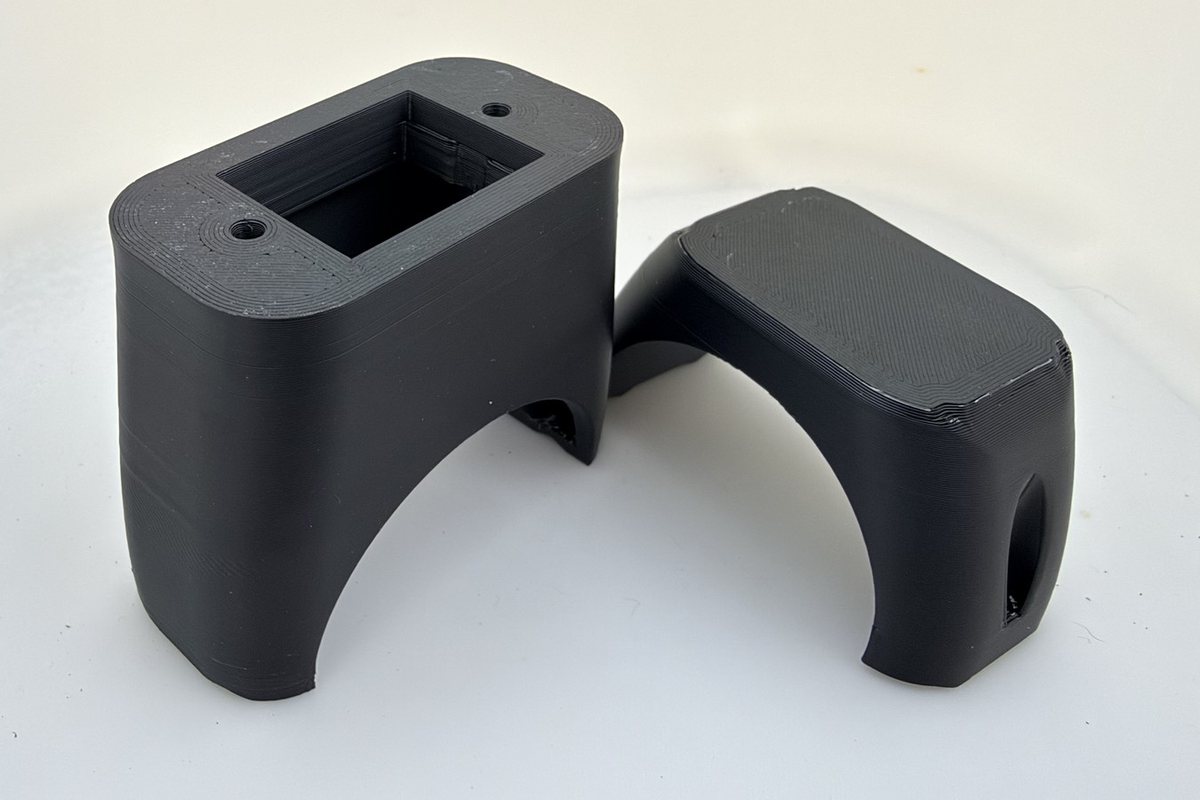
Both halves are printed in tough, UV-resistant ASA. Printing them on their sides didn’t give a clean result once we added extra walls and infill for strength, so the Clamp prints on its flat base and the Top prints with the indicator mounting face down. The Top carries the switch and indicator, and the Clamp bolts up under the column.
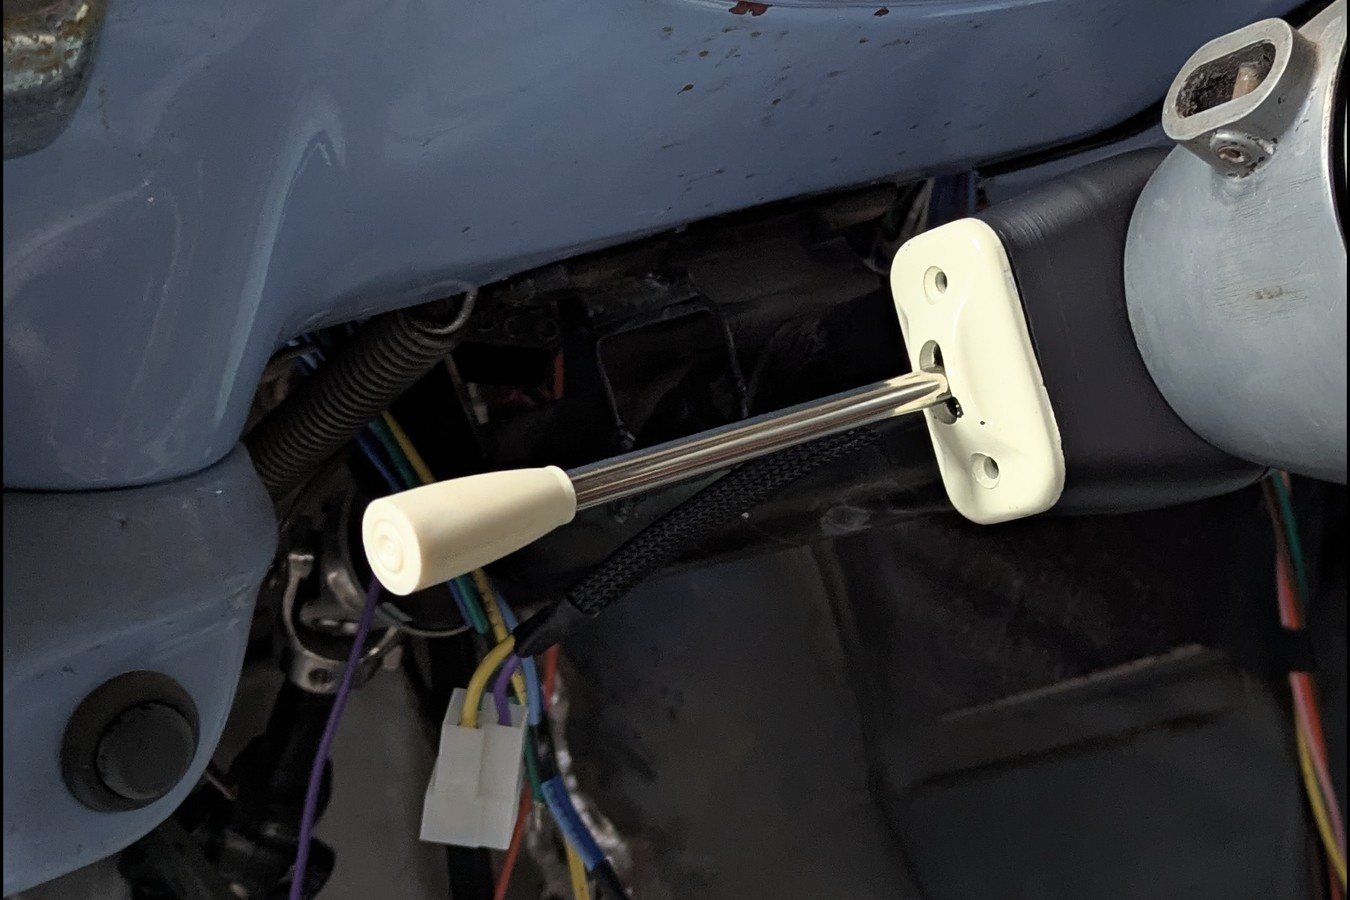
A two-piece holder, now test-fitted to the Gasser’s 2-inch column, that takes the original indicator and switch without modification. Every key size is a named setting in the model, so grip or nut fit can be tuned in seconds, and another can be printed on demand.
The full two-page case study, with more photos and detail.
Obsolete isn’t the end.
Send us a few photos of the part and tell us which vehicle it’s from. We’ll tell you what’s possible.